1
Open the GPT creation screen.
Open the area in ChatGPT used to create a custom GPT.
 GPTFilePro
No technical experience required
We already built and tested the hard part. Your GPTFilePro package tells you exactly what to put in each applicable field and which settings to choose.
Your complete handoff
Your GPTFilePro package includes the custom files, Instructions, content, settings, and field-by-field directions for your particular build. You don’t have to figure out how to configure the GPT—we already did that.
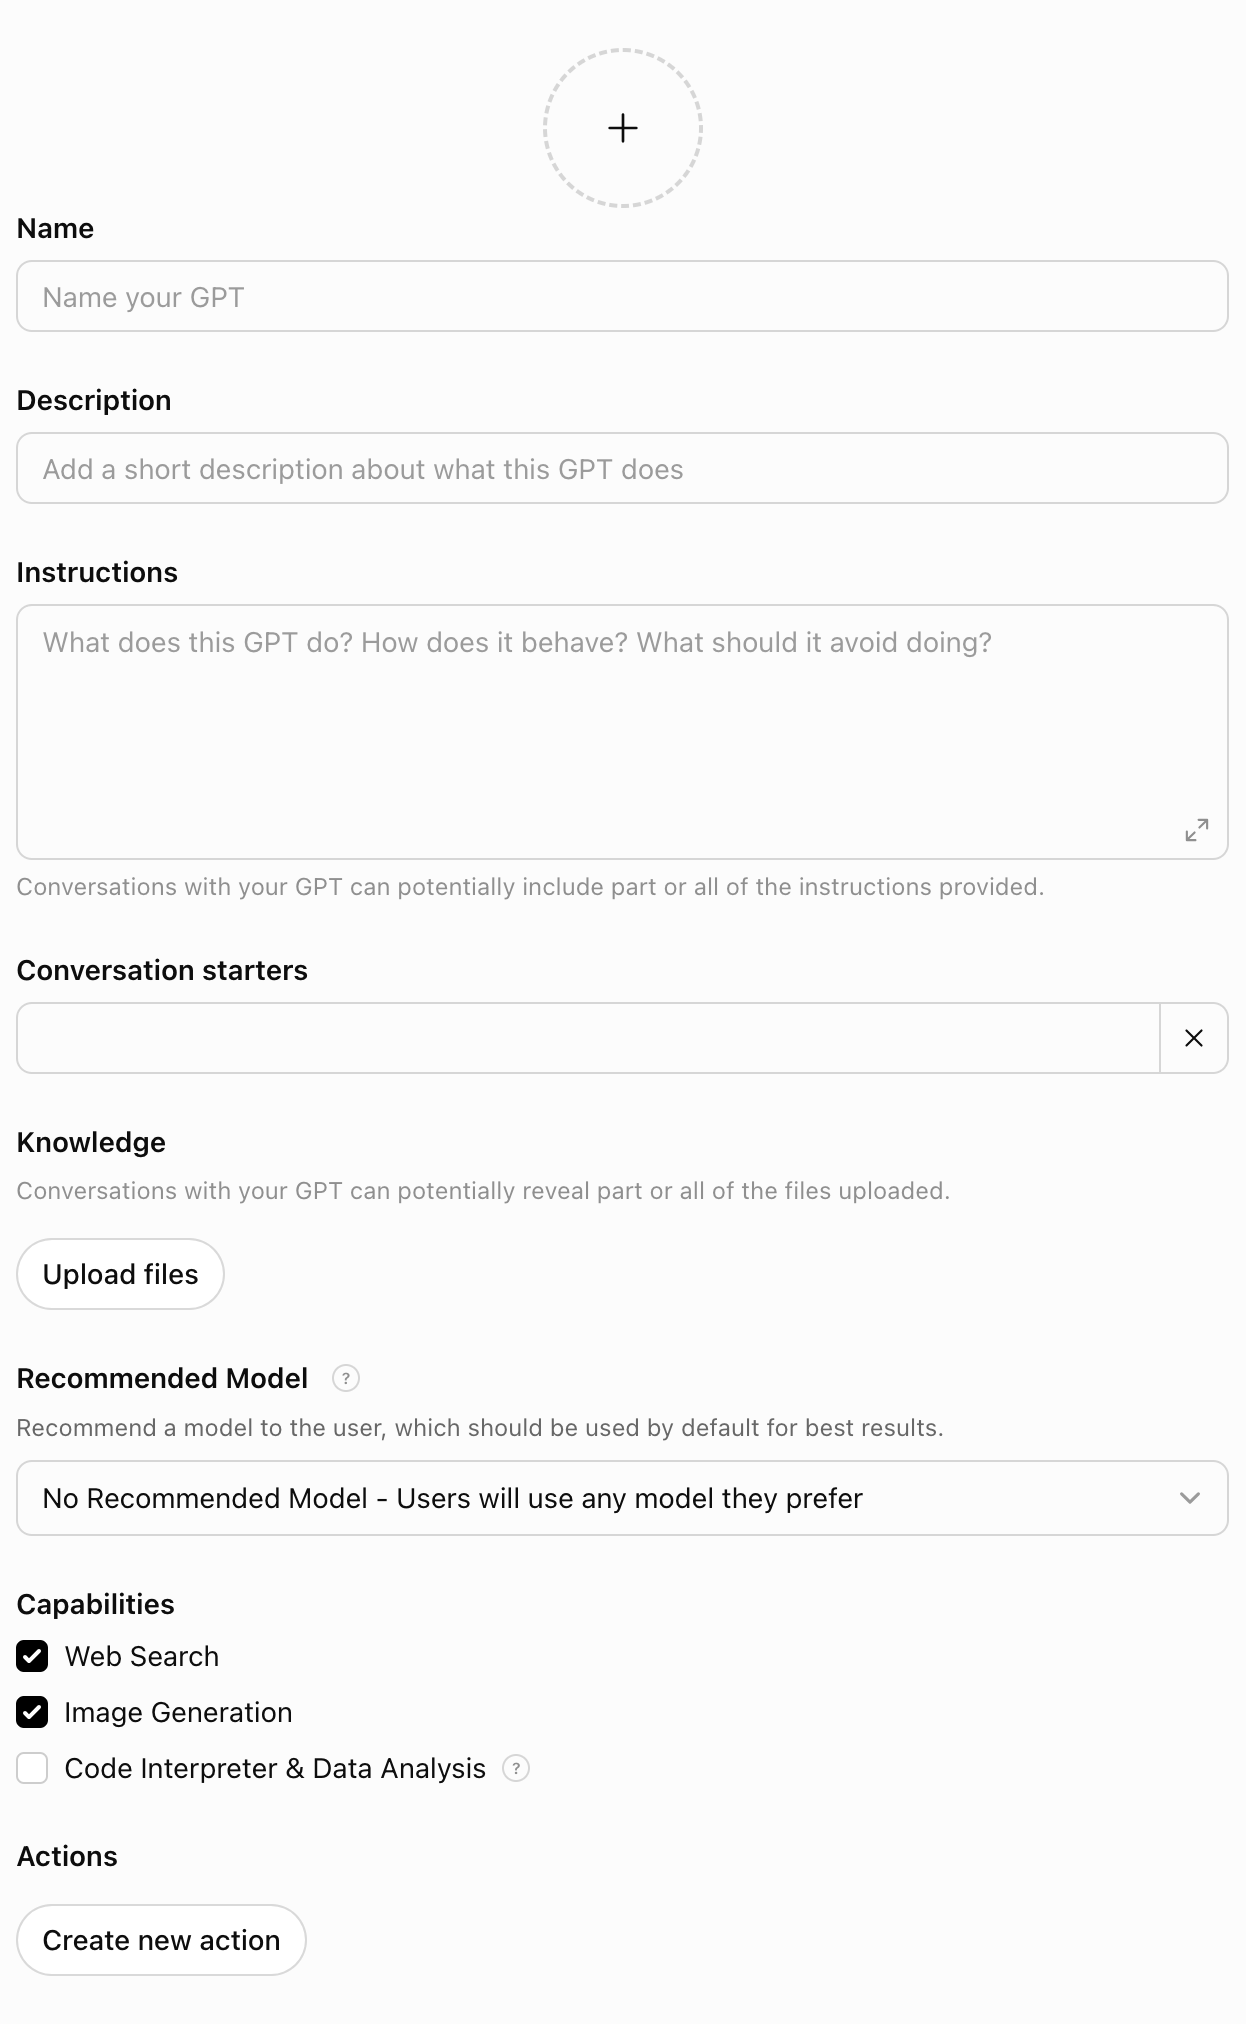
Open the area in ChatGPT used to create a custom GPT.
Enter the name you’ve chosen for your GPT. If you asked us to suggest one, use the name included in your build package. Your package provides the exact custom Description and Conversation Starters when applicable.
Copy the complete custom Instructions supplied with your GPTFilePro build into the Instructions field. These are the project-specific instructions we engineered, tested, troubleshot, refined, and prepared for your GPT. They are separate from any .md Knowledge file.
Your package tells you which supplied .md or other Knowledge files to upload, which Recommended Model to select, which Capabilities to enable or disable, and whether anything else is required. Just follow your build sheet. We already figured out the settings.
After you have entered and uploaded everything specified in your GPTFilePro package, review the configuration and click Create in the top-right corner.
After your GPT has been created, use the Share option to choose how it can be accessed. The sharing choices available to you depend on your ChatGPT plan, workspace settings, permissions, and GPT eligibility. Depending on your account, options may include keeping it private, sharing by link or within a workspace, or publishing to the GPT Store.
What you receive
Use the name you chose—or our suggestion if you requested one.
We write it for your specific GPT.
We give you the complete custom Instructions we engineered and tested.
We provide them when appropriate.
We tell you exactly which supplied file or files to upload.
We tell you what to select.
We tell you what to turn on or off.
If your build requires them, your instructions tell you exactly what to do.